What is illustratorIllustrator is a digital illustration software that is used to make Vector images. It is similar to Photoshop except it makes Vector images and not Raster images. Illustrator is primarily used for creating art but can also interface with the laser cutter to cut out 2D images in wood.
|
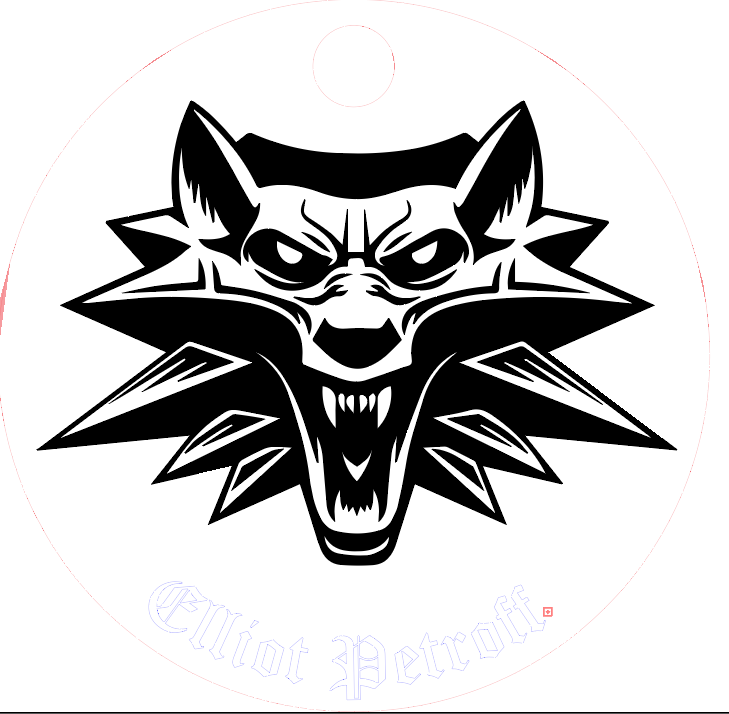
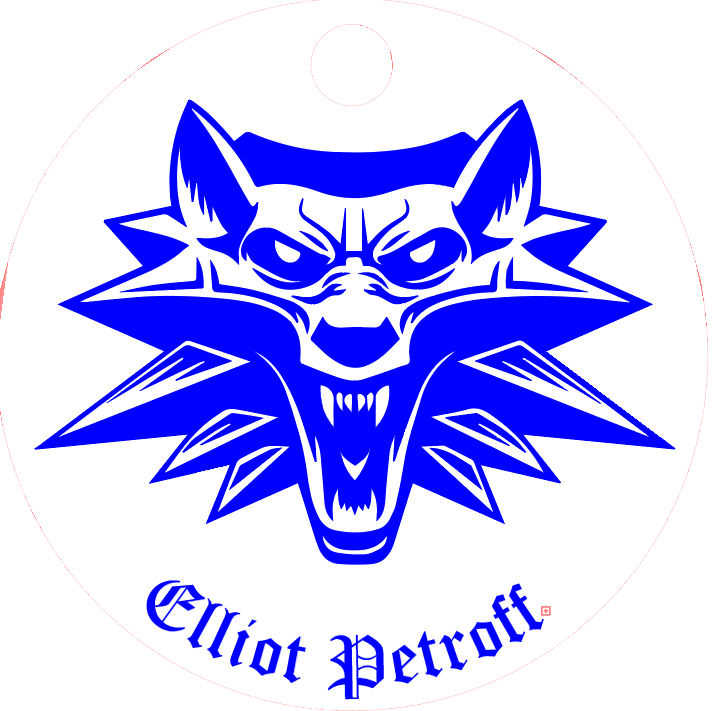
My KeychainI started out with making a round circular key chain. I added the hole wrote some text and uploaded an image. but I didn't format it correctly to cut. When I realized my mistake I tried making it blue but then I realized it was only going to outline it which wasn't what I wanted. I then went back and filled in the space with blue so it would be engraved.
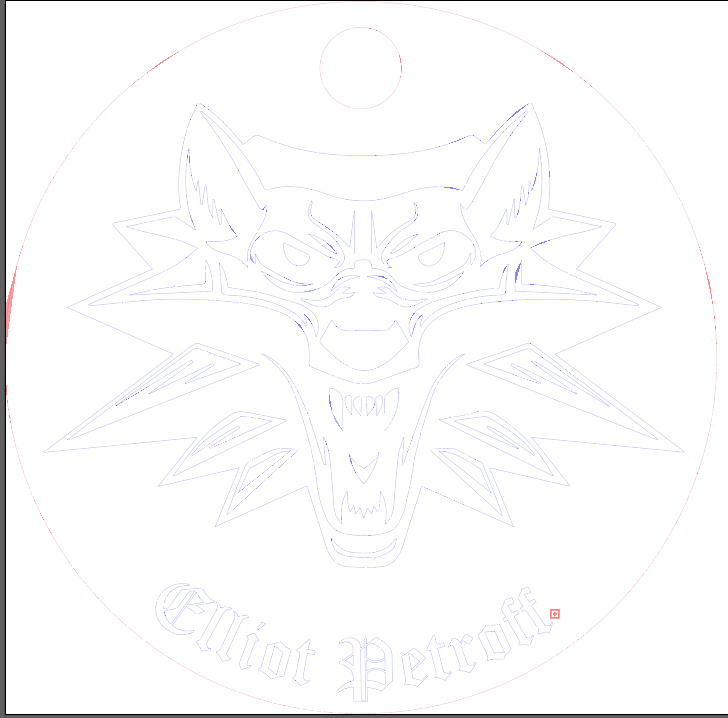
I didn't realize at first that the outline would not look good when printed.
|
My first design was not ready to cut because I forgot to change the color
My final design had the image blued in so it would engrave it more.
|
Final Laser PrintingFinal laser Printing a very simple process but one that requires the utmost precision. If any measurement is off the print will be off. Many steps are required to ensure a good quality print. First you have to mark how thick your plastic is so that the laser printer doesn't cut through it unintentionally. Second, you also need to make sure the exhaust is on so that any hazardous fumes from the plastic are vented out. Thirdly, on the interface you need to make sure that the object is placed correctly so the laser will know where it is to cut it. Then you need to place the laser in the correct spot on the bed so it lines up with the corner of your print Finally, once you have placed the print correctly you can press play and it will be cut out.
|
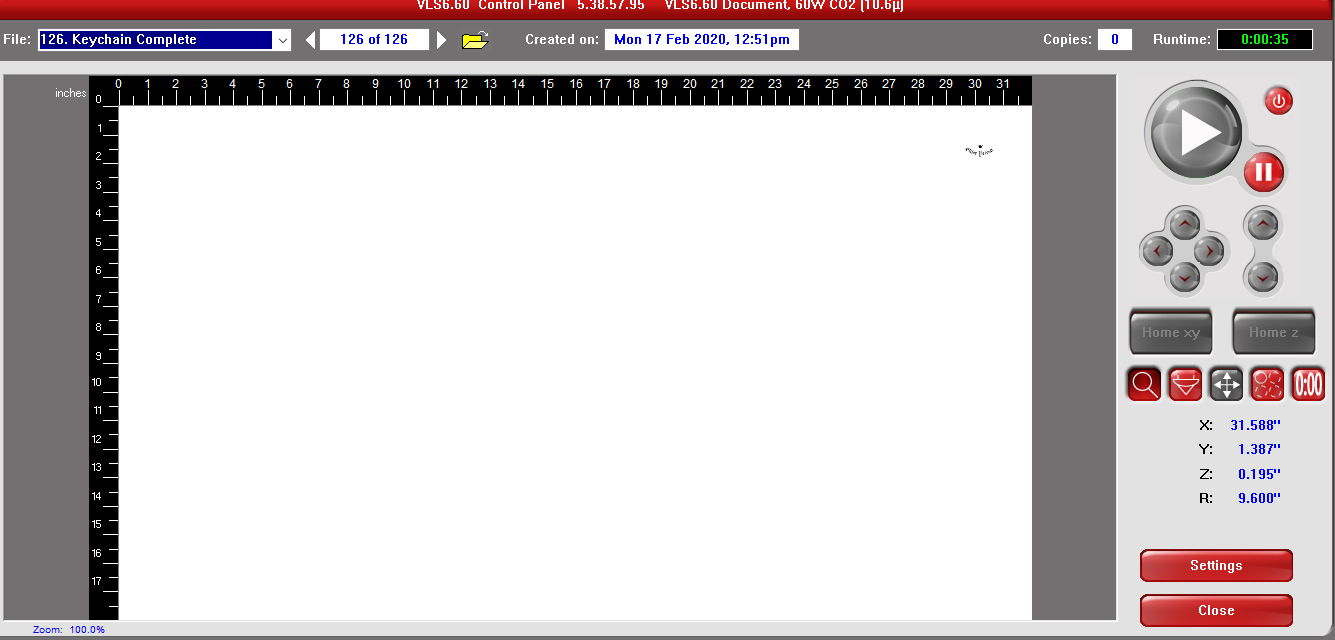
The object placed correctly in the top right corner of the printing bed.
|
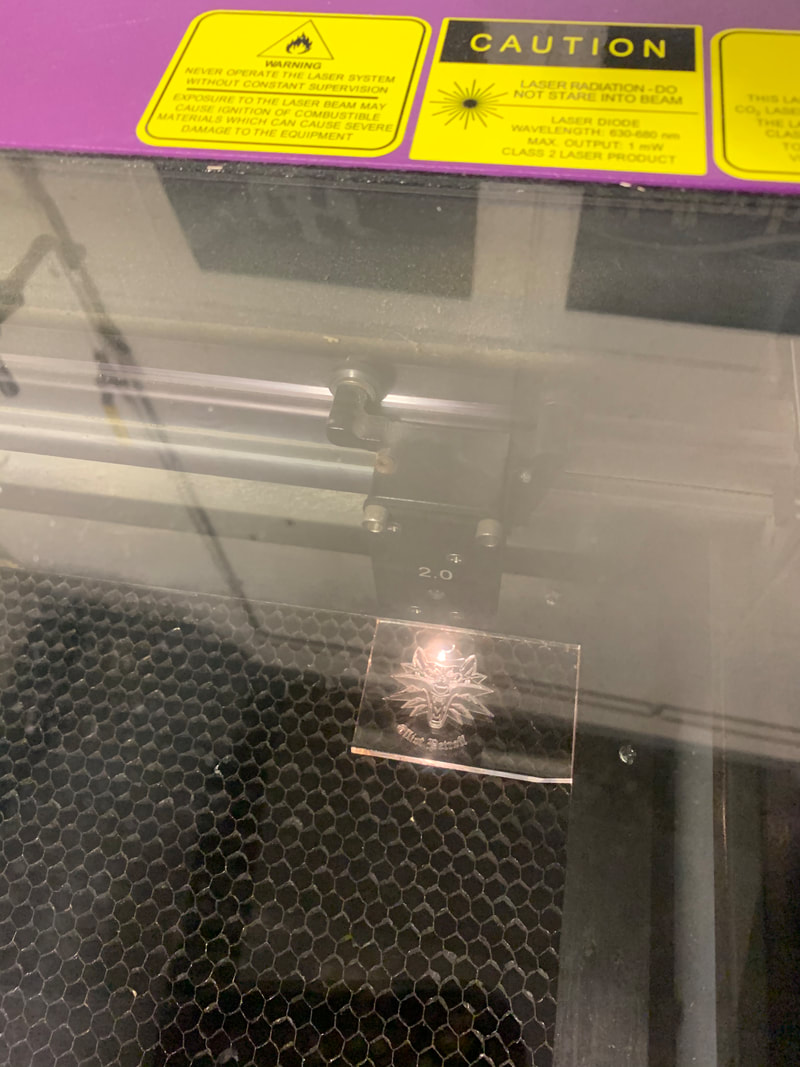
Here is the keychain in the process of being cut out
|
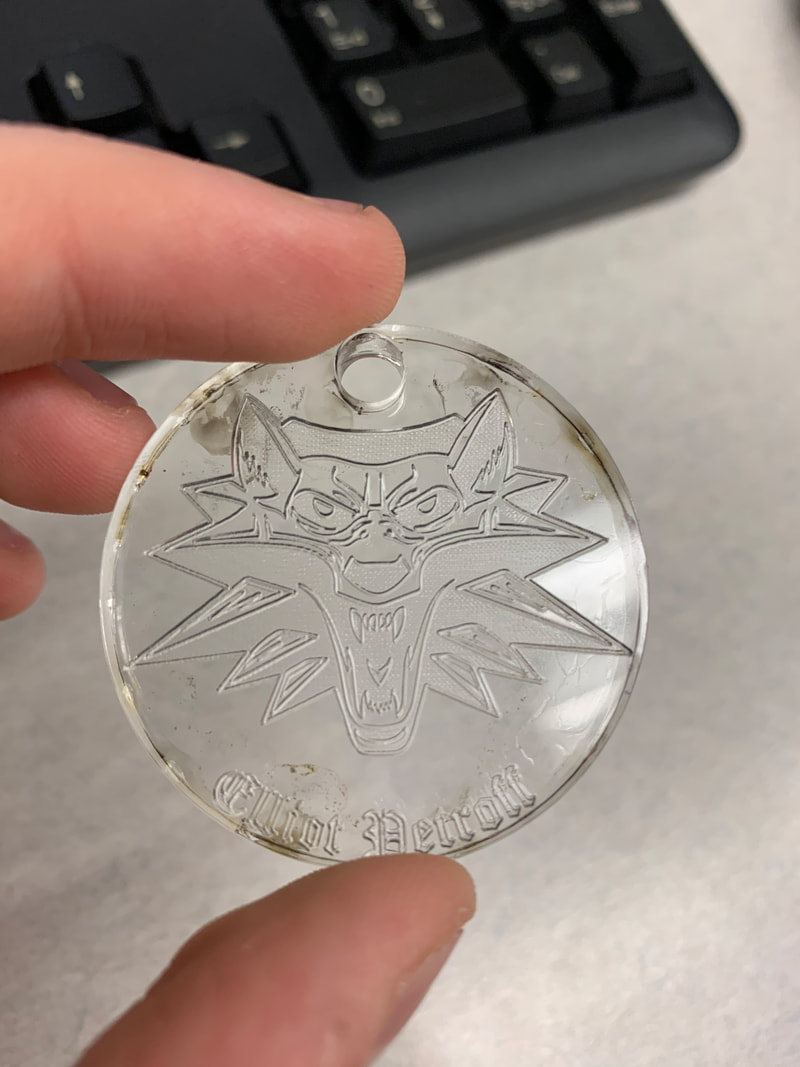
The finished keychain
|
Vinyl Cutter
|
The Vinyl Cutter is used for making Decals that can be put on anything. It uses illustrator images, processes them, and then cuts them out from a long roll of vinyl. It leaves you with a perfect image that looks great and can be pasted onto anything. You start by bringing up the image on the computer. Then you cut it out by following the prompts
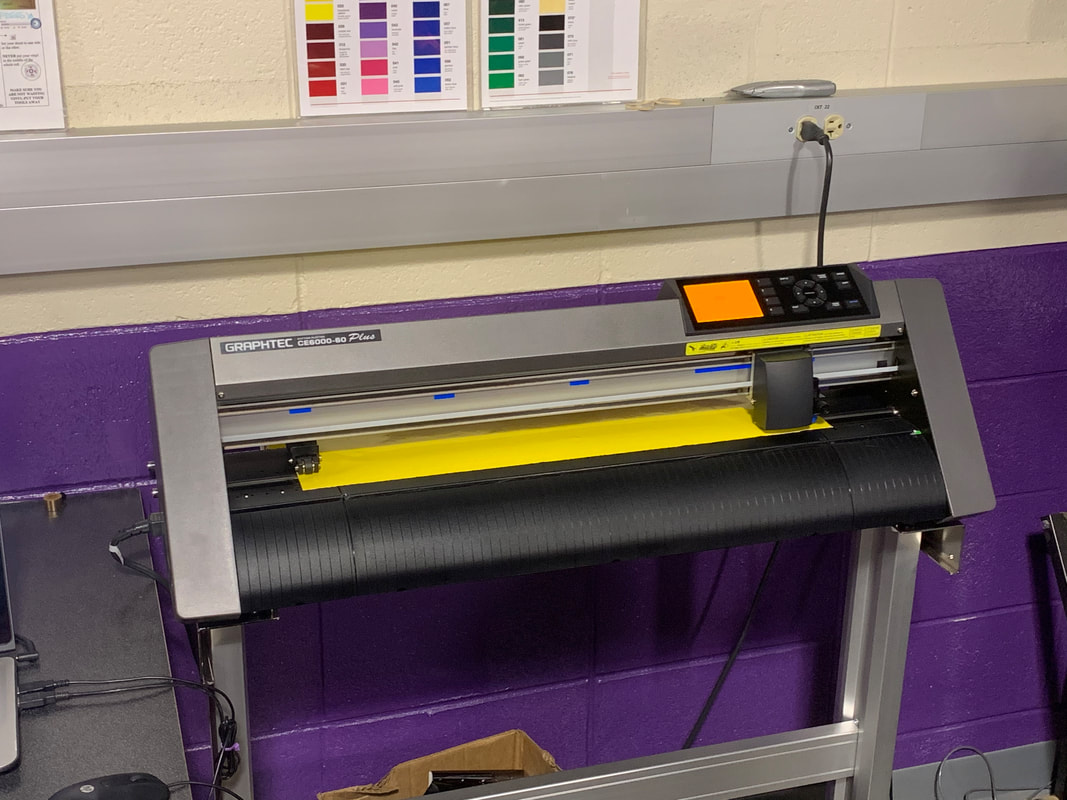
Cutting out the vinyl
|
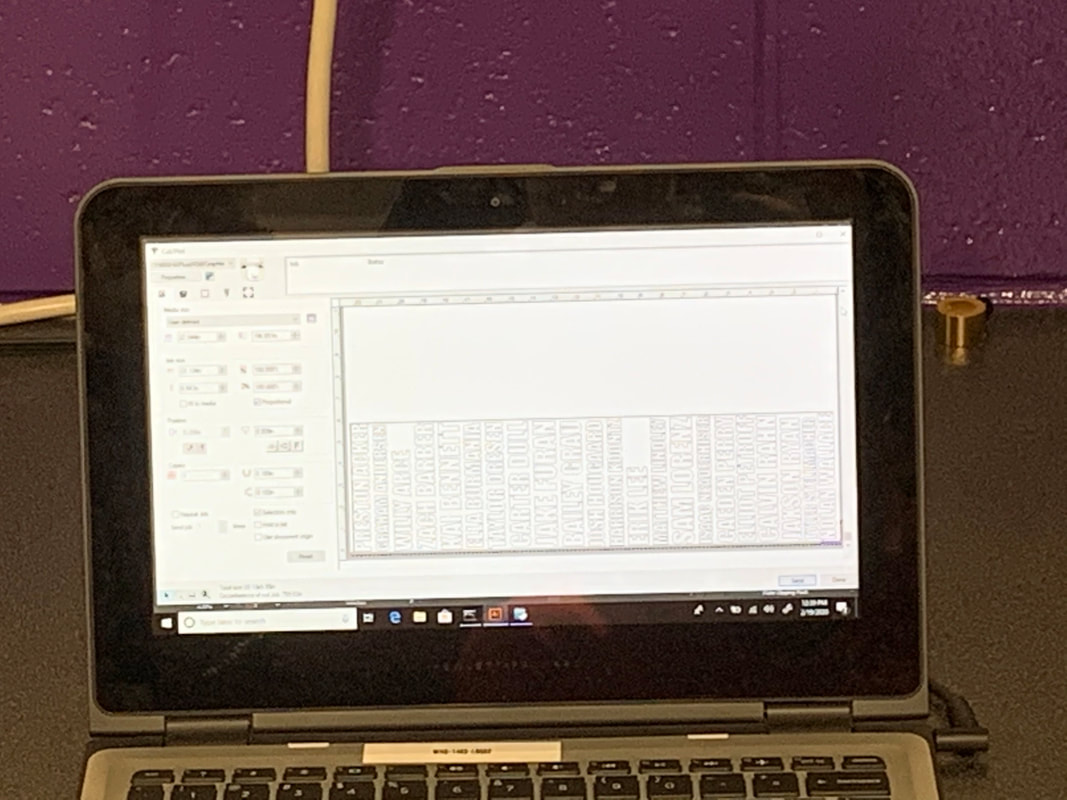
First you bring up the illustrator file and prepare it to print
Applying the DecalApplying the decal is a very simple process but it should be follow closely to avoid mutilation on the decal. You will need dental tools or other poker-like object, a squeegee, and transfer tape
|
|
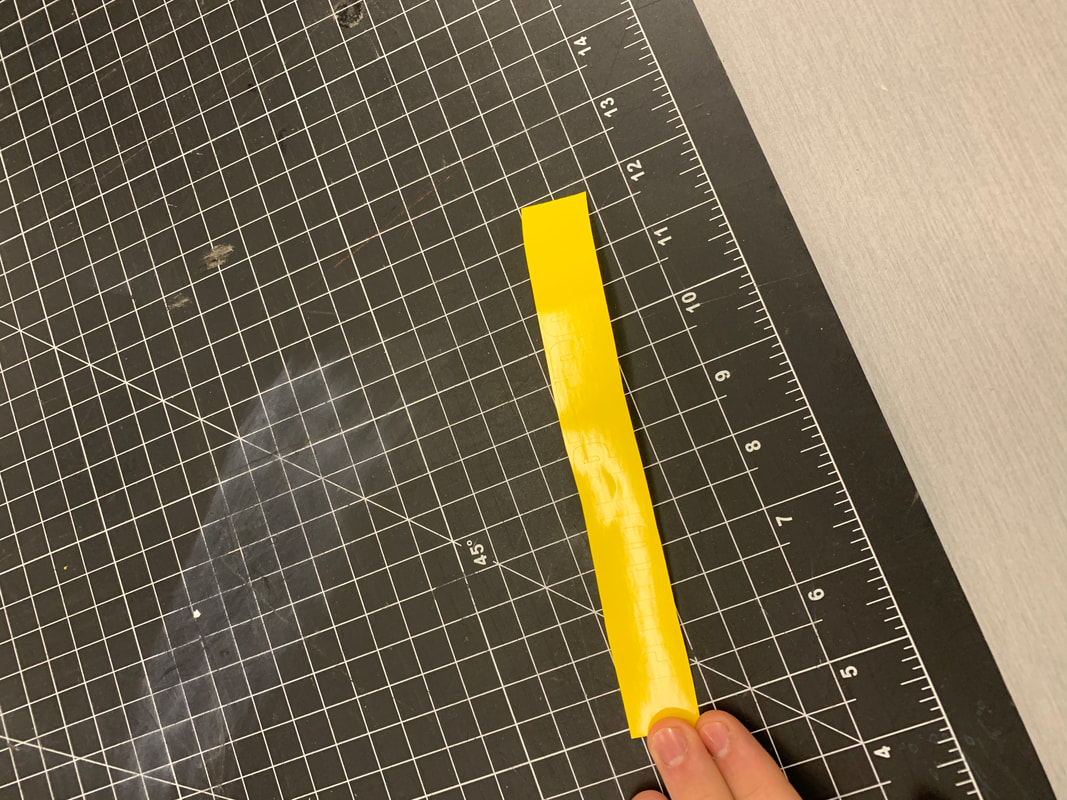
Step 1: Cut out the decal from the vinyl sheet so you have only your print on the table.
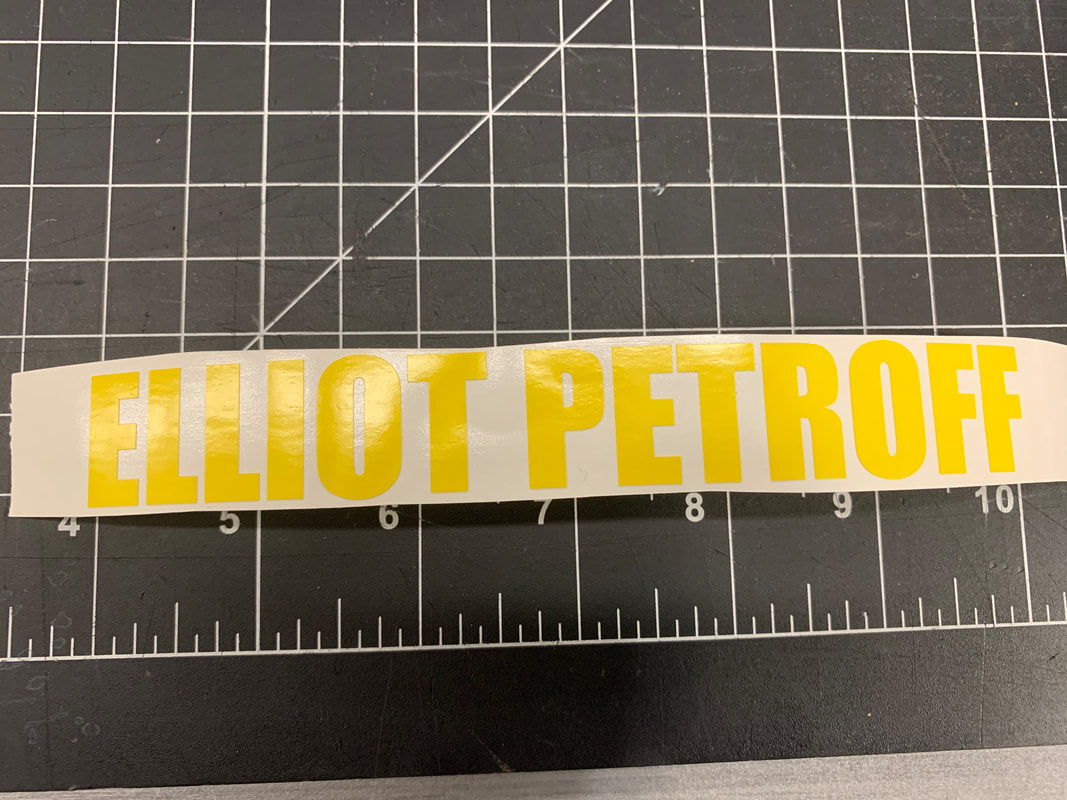
Step 3: Using the dental tool carefully pick out the unwanted vinyl centers of the letters.
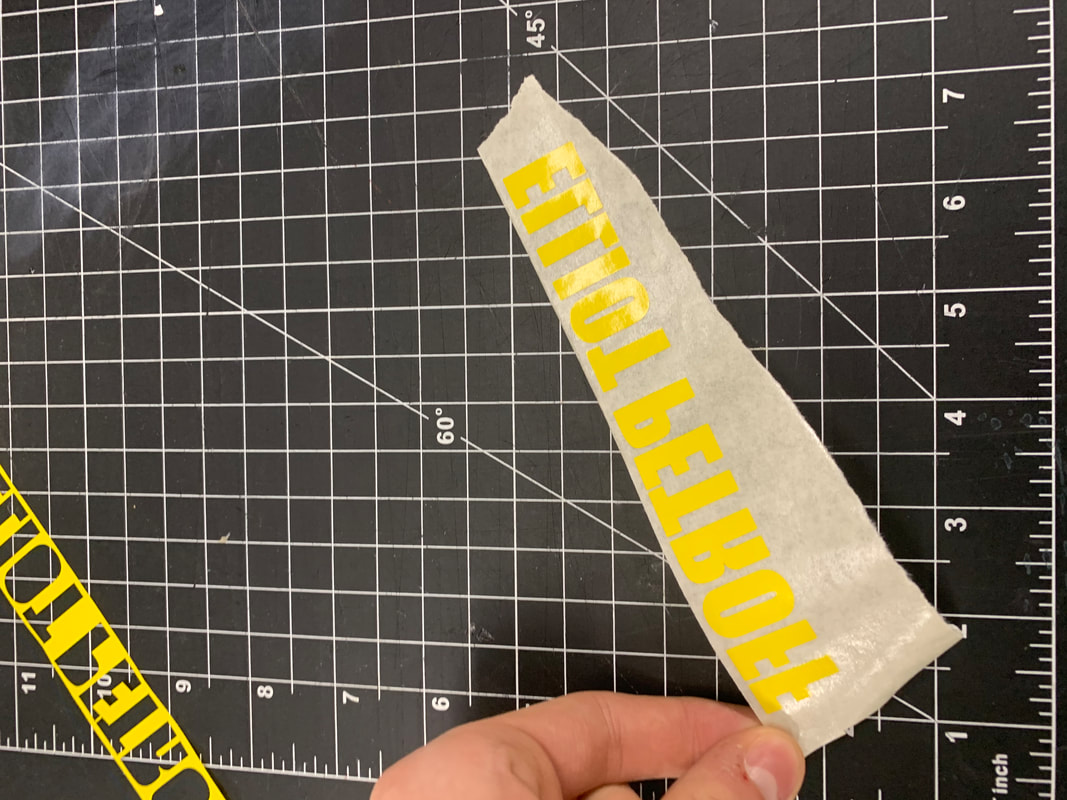
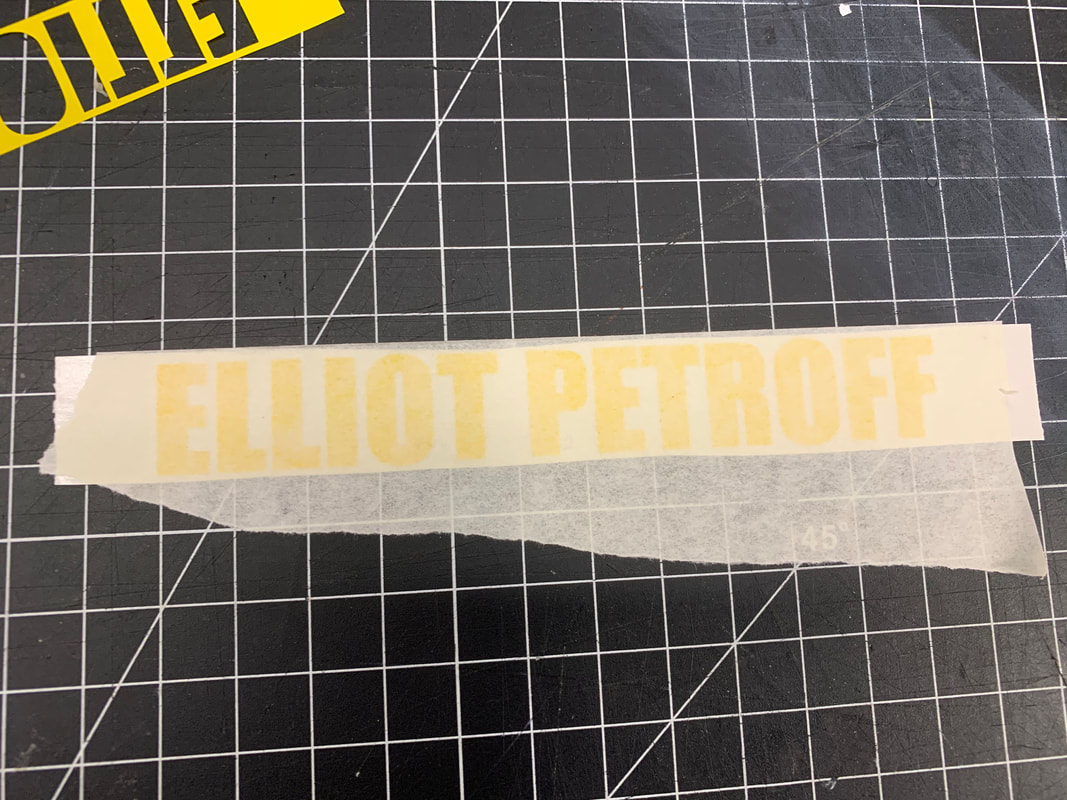
Step 5: Carefully peel back the backing of the vinyl letters making sure that the letters do not peel off with it
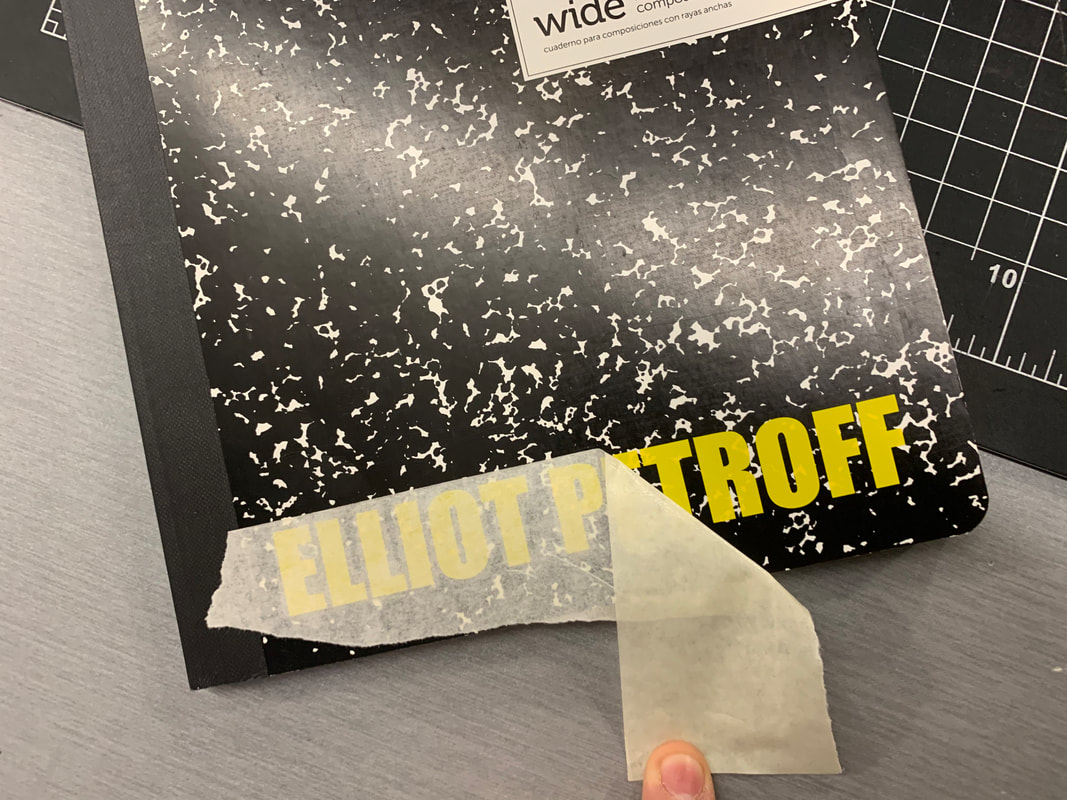
Step 7: very carefully peel off the transfer paper at a ninety degree angle to avoid shifting the decal.
|
Step 2: Carefully peel the excess vinyl away leaving only the desired decal on the backing.

Step 4: Paste a sheet of transfer tape on the top of the decal and use a squeegee to smooth it down so it stays adhered to the decal
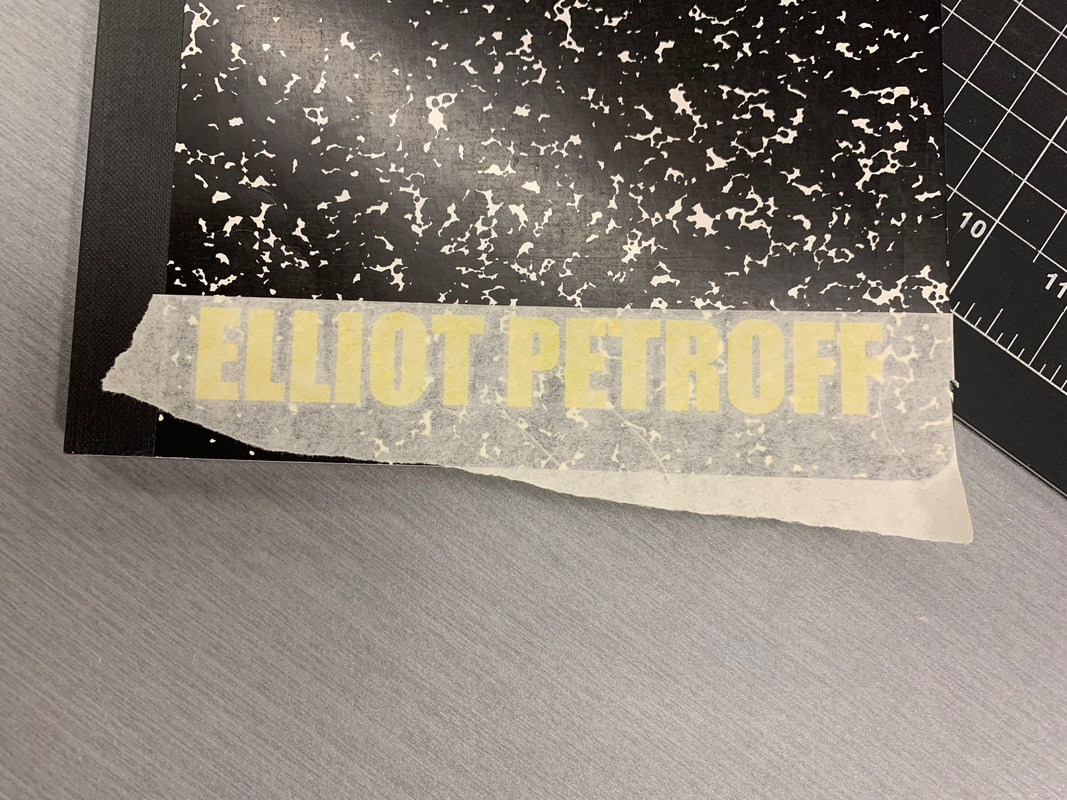
Step 6: Paste the decal and transfer paper on the desired surface. Make sure it is in place as you cannot move it later.
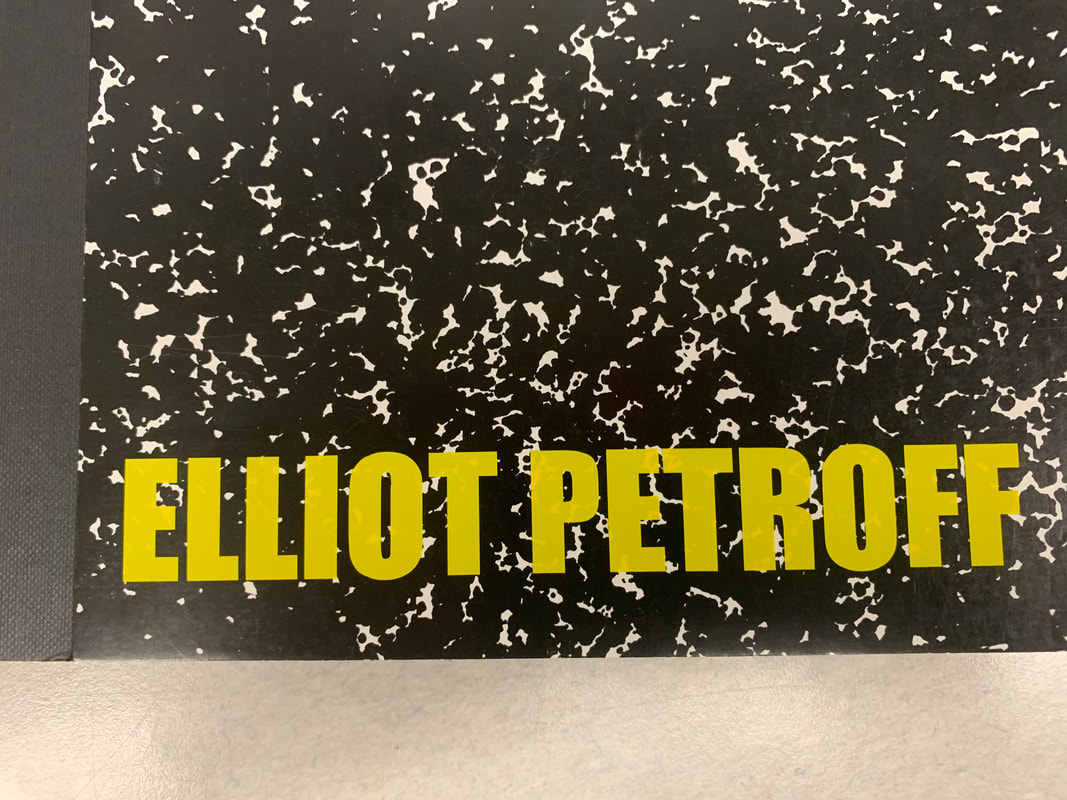
Congratulations! You have successfully pasted your decal on your object. It should stay adhered to the surface for a long time.
|
Summary |
|
Overall I learned a lot about how to print on the laser printer and the vinyl cutter. I have made a cool and interesting piece that can hang on my backpack and a functional name tag for my notebook. I did encounter a few challenges like how the key chain print melting around the edges but I think with some more practice I could get better. I think with the knowledge gained from this experience I could could make anything on the laser printer or vinyl cutter on my own.
|
