Inventor |
|
Inventor is a 3D modeling software that is used primarily for building parts to be 3D printed. It's ease of use is why we use it a lot. These are just some of the projects I have built on it.
|
Widgets
|
Widgets are small parts that are created primarily for training on how to use the modeling and 3D printing software. They amount to little more than cool paperweights but they are so fun to build. In our first exposure in Inventor we were tasked with creating six of these little widgets to learn the software. Below you will see the process for how to create the sixth widget as a demonstration.
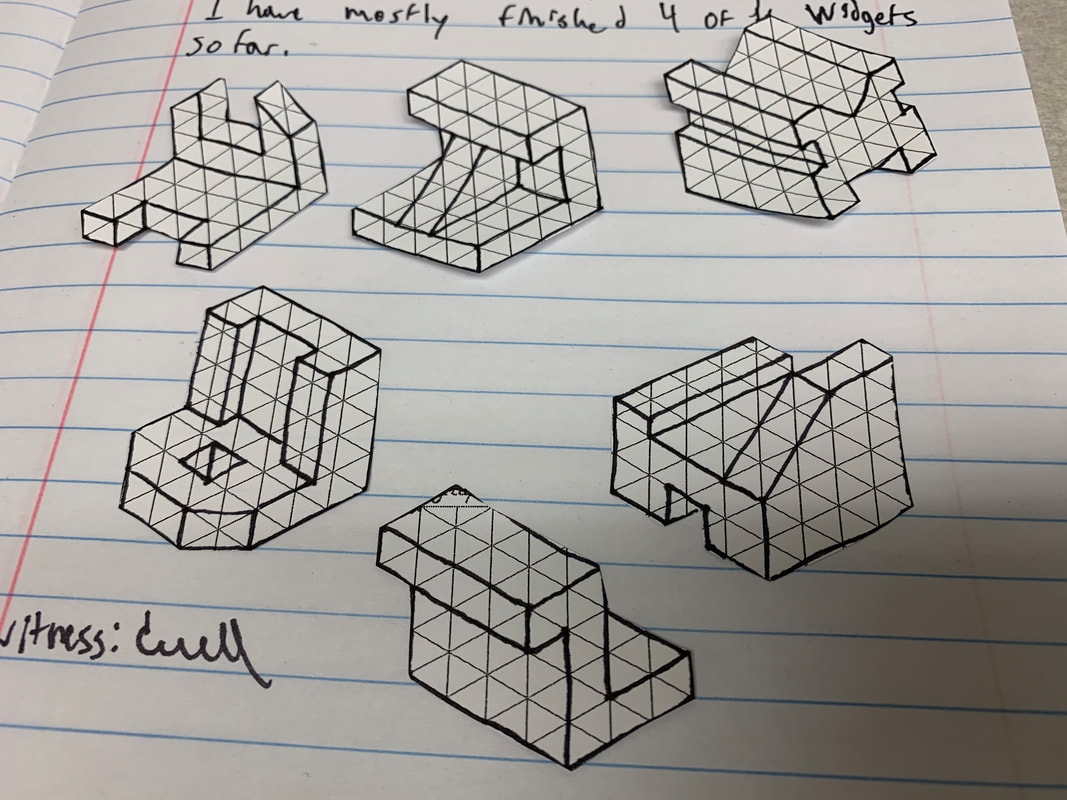
Here are the preliminary sketches for the widgets.
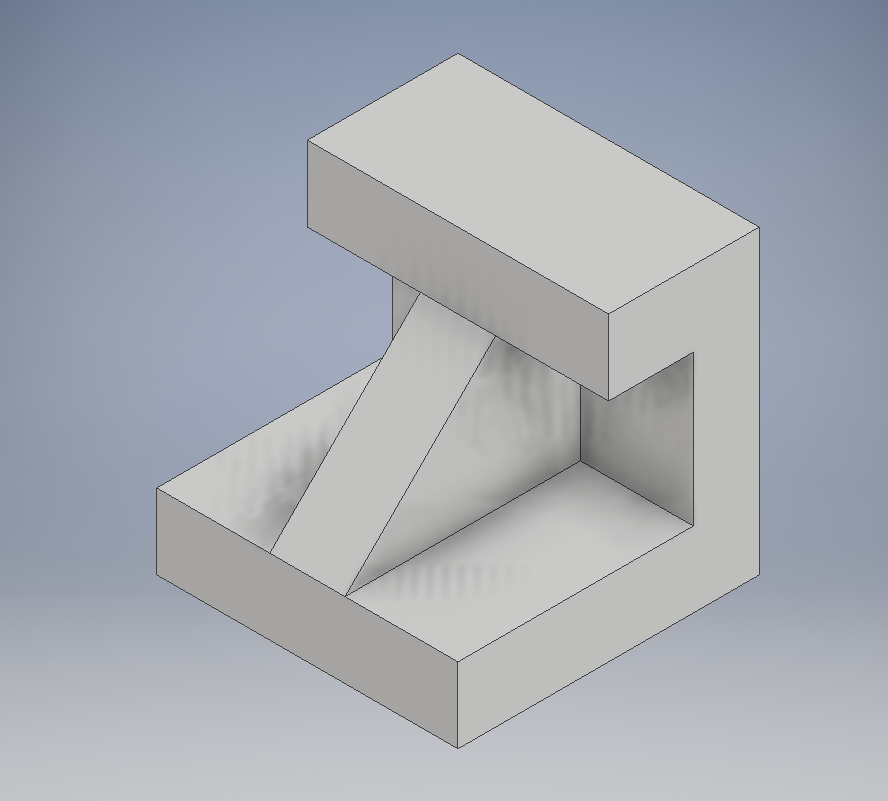
This second widget demonstrates how to add more advanced elements like the support in the middle.
The fourth widget took three sketches to create. it was used to teach us how to layer extrusions and cuts by adding more sketches.
|
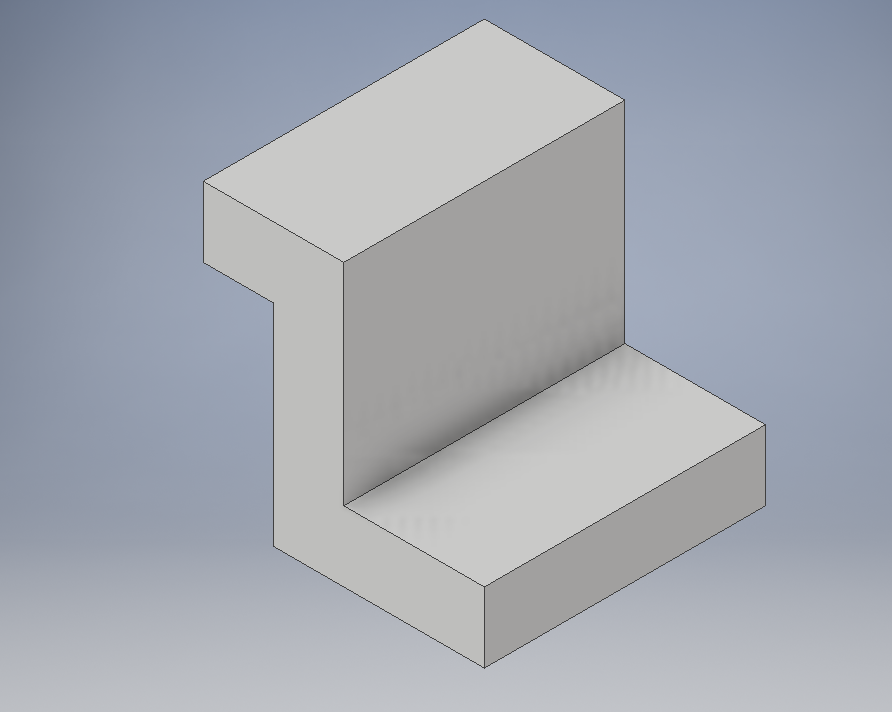
This is the first widget we created. It is very simple and good for demonstration purposes.
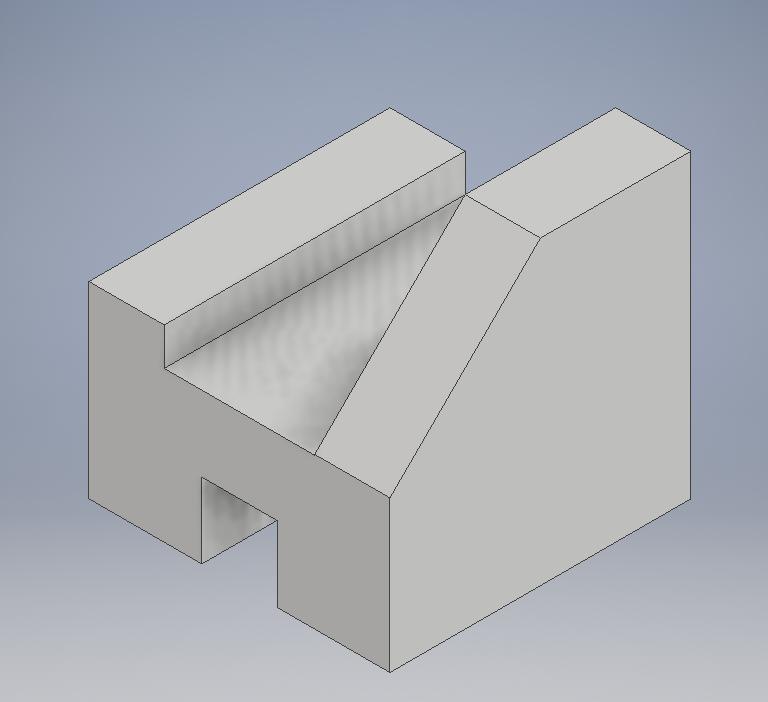
The third widget really taught us how to draw more advanced sketches for extrusion.
This fifth widget is just more practice on layering sketches
|
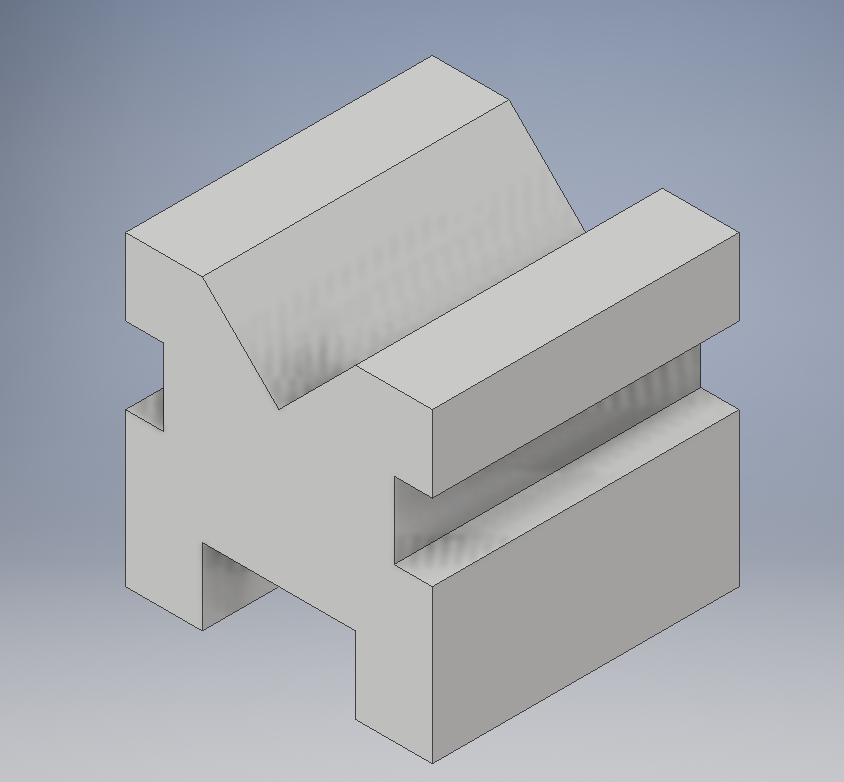
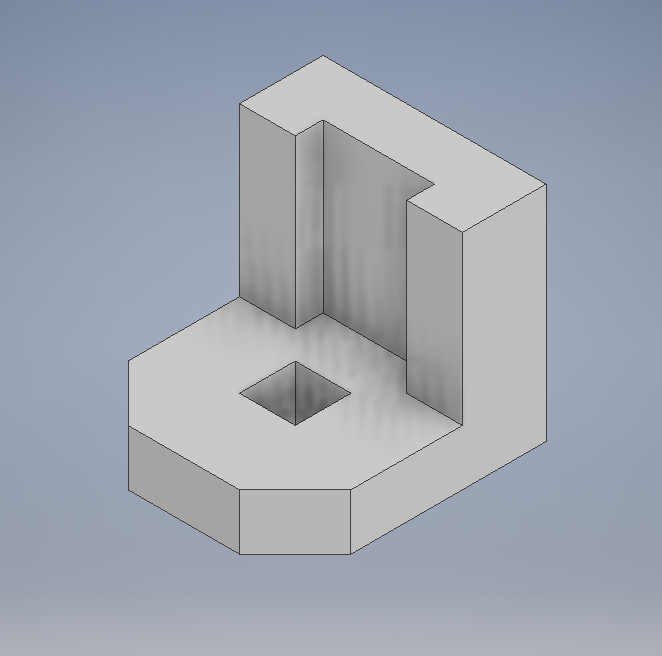
The Process of 3D ModelingI have used Widget six as a demonstration on how to Create a 3D model. It is a process involving many sketches, extrusions, and cuts to create the desired shape.
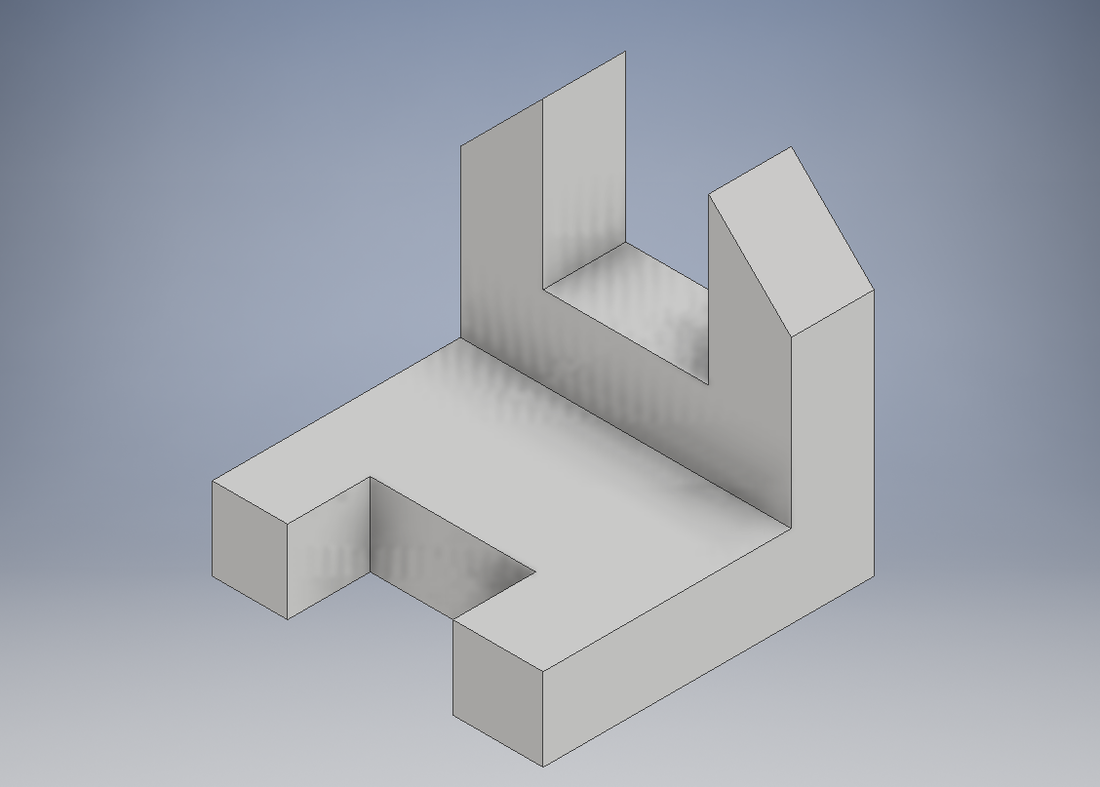
Step 2: Extrusion is the next step. extruding turns the sketch into a 3D shape with mass. This shape is not complete yet but now it looks like something close to what is desired
Step 4: Now we have to cut away the material that we don't need. It is exactly like an extrusion except it removes material instead of creating it.
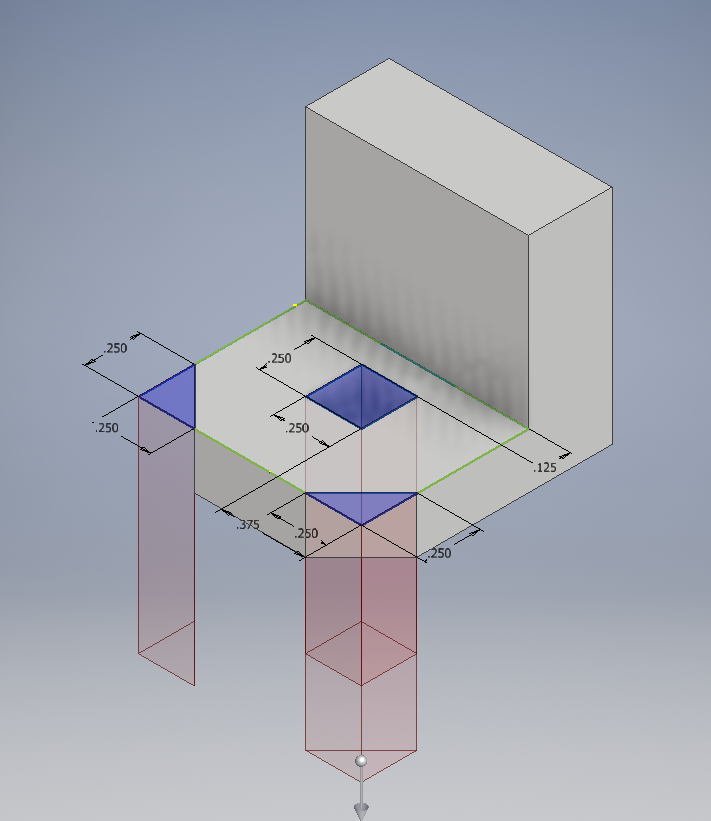
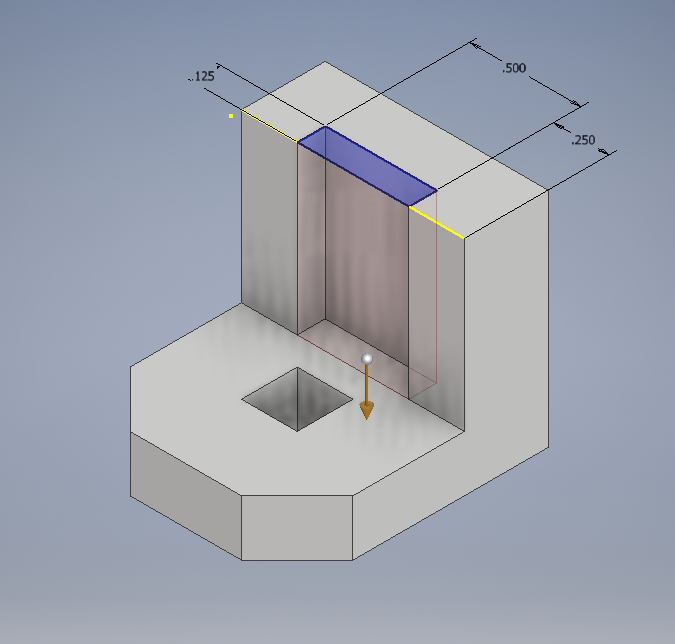
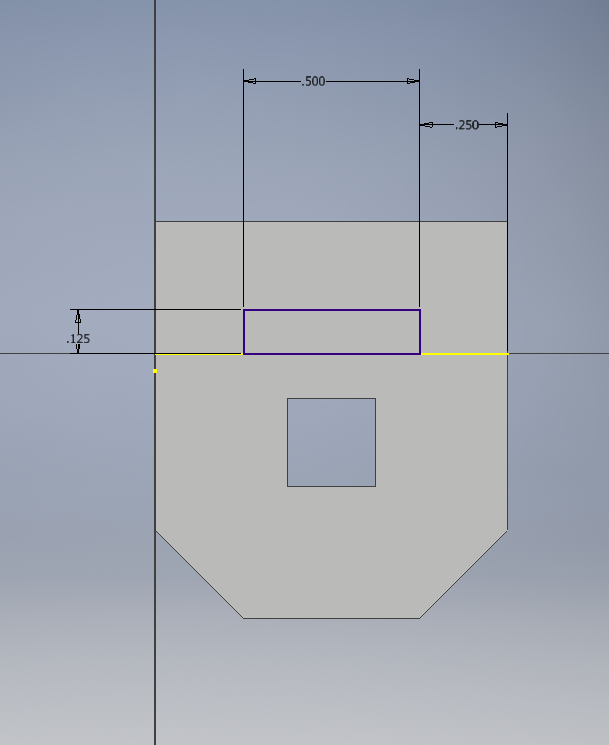
Step 6: Now we cut out the sketch we have just drawn. we need to be precise and only cut what we need. if we cut to much we will leave a large hole in the bottom.
|
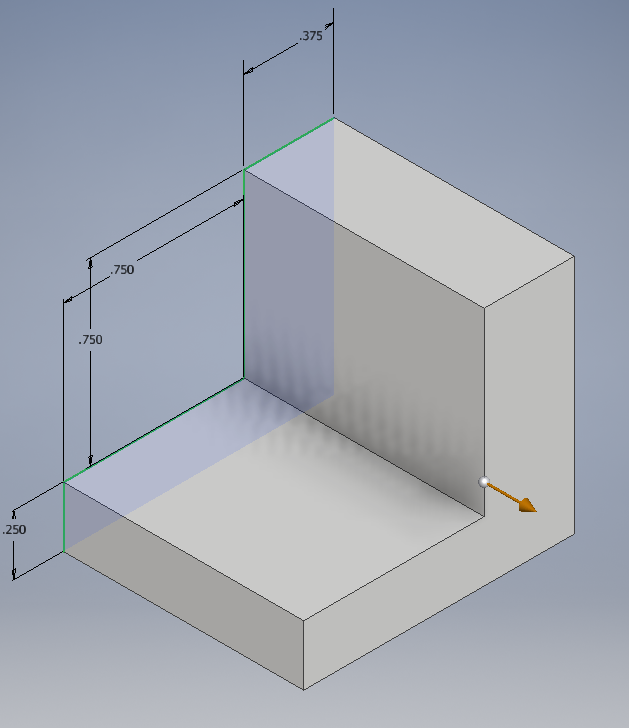
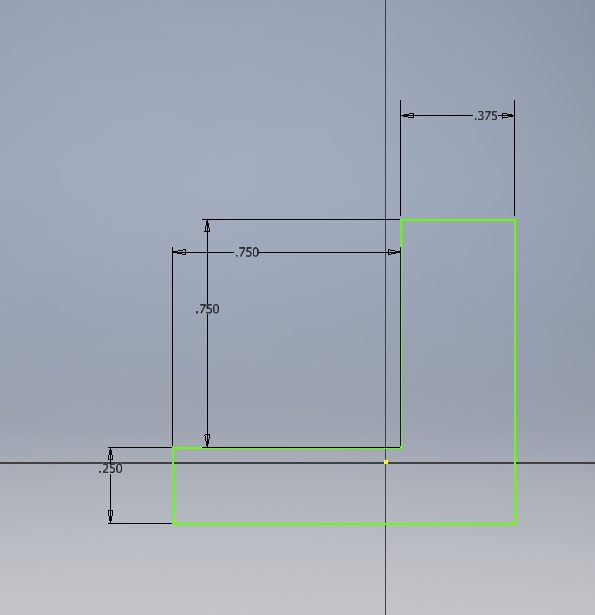
Step 1: First a Sketch is made this is a profile of the object and it will be the first starting point for making a shape. Dimensions are used to keep the shape at the desired size.
Step 3: Now we are going to add the extra features that make the widget look like what it is supposed to. Again we start by making a sketch.
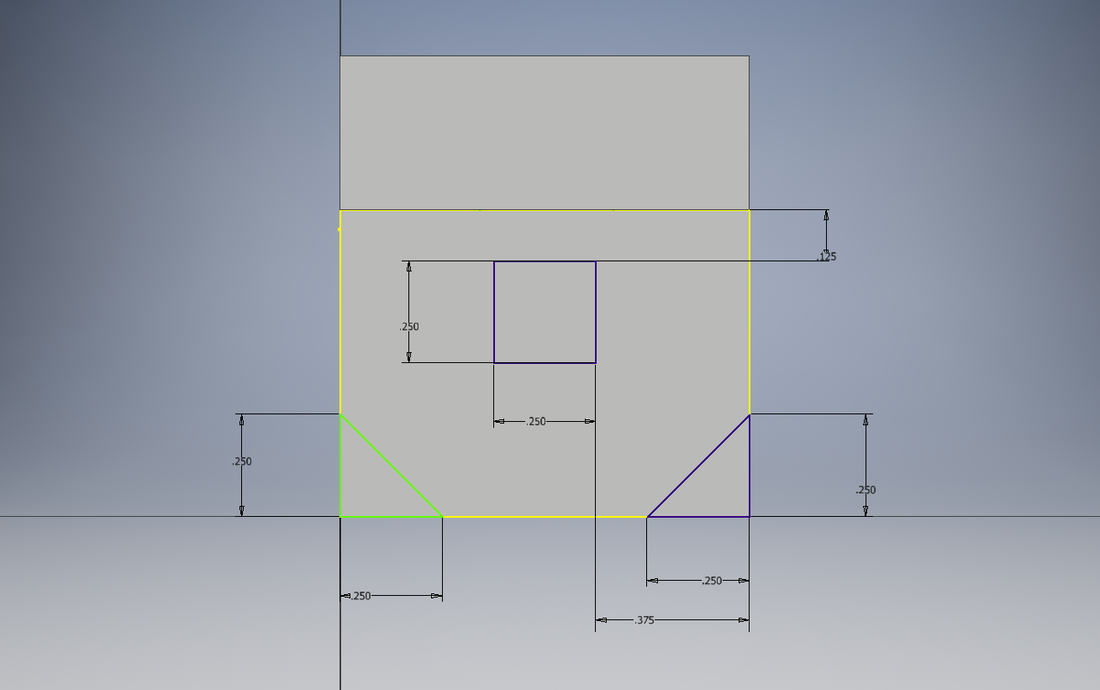
Step 5: After making our first cut we need to make another to finish the shape. Like before, we make a sketch.
|
|
Finished Product: Congratulations! With that final cut the widget is now complete. It can now be sent to the 3D Printer for fabrication.
|
3D Printing the Finished Part
|
After we have created our product by 3D modeling in Inventor it is time to 3D print. The printer uses a different file type than Inventor uses so we need to change the file type to a STL file when we export the product. After exporting we can open Makerbot and place the print where we want it. Once the print is in place we can upload it to the USB. You can then view the print preview to make sure the print will come out the desired way.
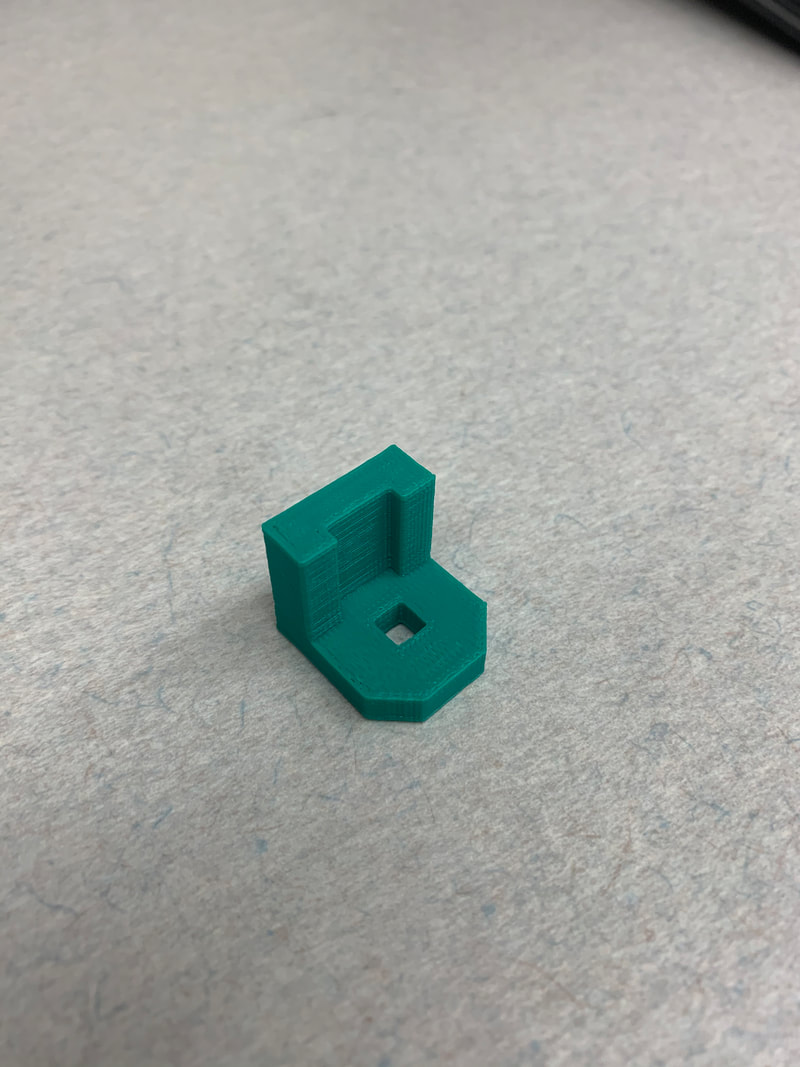
This is a photo of the finished part
SummaryI really learned a lot from doing this project. I had known a lot about Inventor and how to model but I did not know how to 3D Print. I feel that now I have a better grasp on how 3D Printing works and I am proficient in the basics of 3D printing. I have much to learn but I am now more confident in my skills.
|
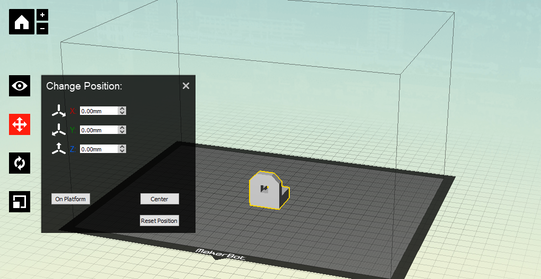
Positioning part in MakerBot so it will fit on the printing plate
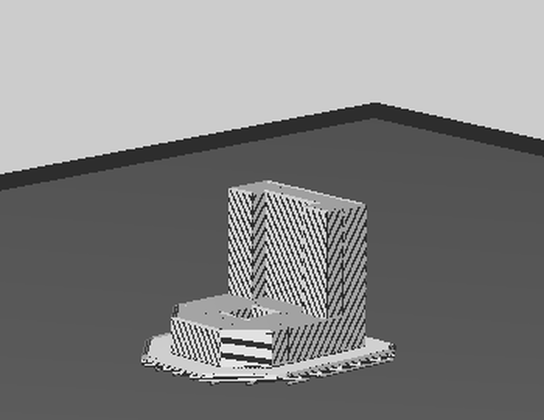
Image of the print preview of Widget six

The printing process starts from the bottom and works up
|
